NestJS is one of the most powerful and flexible Node.js frameworks for building scalable server-side applications. Once your app is production-ready, the next step is deployment. In this guide, you’ll learn how to deploy a NestJS application to Render, Railway, and Vercel, three modern platforms that simplify cloud hosting.
Why Deploy NestJS on Modern Platforms?
Before jumping into the specifics, it’s important to understand why platforms like Render, Railway, and Vercel are increasingly popular:
- Zero-config deployments
- CI/CD out of the box
- Integrated monitoring and logs
- Scalable infrastructure
- Free tier available for small projects
Now let’s walk through how to get your NestJS app live on each platform.
Deploying NestJS on Render
Render offers a simple setup for deploying backend applications. Here’s how to deploy a NestJS app:
1. Prepare Your App
Make sure your app has a start script in package.json:

Also, ensure the app is built using:
npm run build
2. Push Your Code to GitHub
Render pulls code from GitHub, so push your NestJS project there if you haven’t already.
3. Create a New Web Service
- Go to Render Dashboard
- Click “New Web Service”
- Connect your GitHub repo
- Set the build command:
npm install && npm run build - Set the start command:
npm run start
4. Choose the Branch and Deploy
Once you link the branch, Render will deploy your app. Subsequent pushes will trigger automatic redeployments.
Deploying NestJS on Railway
Railway is a developer-friendly platform with a beautiful interface and flexible project structure.
1. Import Your GitHub Project
- Go to Railway
- Click “Start a New Project”
- Select “Deploy from GitHub repo”
- Choose your NestJS app repo
2. Set Environment Variables
If your app uses any environment variables (like a .env file), add them under the Variables tab in the Railway dashboard.
3. Define Build and Start Commands
- Build command:
npm install && npm run build - Start command:
npm run start
4. Done!
Railway provides a URL where your API is now live. You can scale it vertically or horizontally from the dashboard.
Deploying NestJS on Vercel (Workaround)
While Vercel is primarily optimised for frontend (like Next.js), you can still deploy a NestJS app as a Serverless Function or run it via a custom server using an API handler.
Note: Vercel is not the ideal choice for full backend applications like NestJS, but can work for small-scale APIs or SSR hybrid setups.
1. Set Up a Vercel Project
- Install the Vercel CLI:
npm i -g vercel - Run
verceland follow the prompts
2. Configure vercel.json
Create a vercel.json file to specify the output:
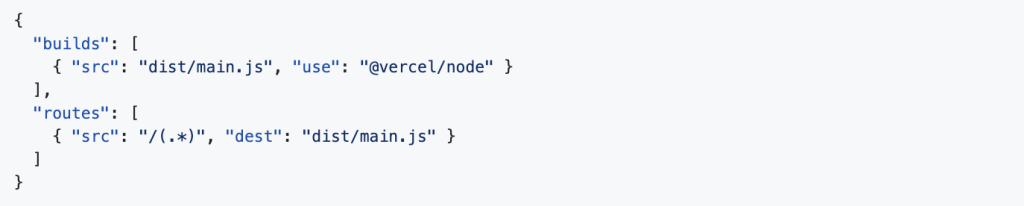
3. Push and Deploy
Run vercel --prod to deploy. You may need to tweak NestJS to be more compatible with serverless.
Choosing the Right Platform
| Feature | Render | Railway | Vercel |
|---|---|---|---|
| Best For | Full-stack apps | Quick deploy & prototyping | Frontend + APIs |
| Serverless | No | Yes (optional) | Yes |
| Free Tier | Yes | Yes | Yes |
| CI/CD | Built-in | Built-in | Built-in |
| Environment Setup | Easy | Very Easy | Basic |
| Each platform has its perks. For full NestJS apps, Render or Railway are generally more backend-friendly. |
Final Thoughts
Deploying a NestJS application doesn’t have to be complicated. Whether you prefer the simplicity of Render, the flexibility of Railway, or want to experiment with Vercel, you now have a clear path forward.
Each platform offers excellent documentation, and most of the heavy lifting is abstracted away. Choose the one that fits your workflow, and ship your NestJS backend with confidence.
FAQ
Question: What makes NestJS suitable for scalable backend development?
Answer: NestJS is built with scalability in mind, offering a modular architecture, dependency injection, and support for microservices, all of which make it ideal for scaling applications as business needs grow. Dev Centre House Ireland leverages NestJS for clients needing both rapid deployment and long-term scalability.
Question: How does NestJS support fast deployment?
Answer: With a strong CLI, out-of-the-box structure, and integration-ready features, NestJS allows teams to move quickly from development to production. Dev Centre House Ireland uses these tools to launch MVPs and full-scale products with speed and precision.
Question: What are the core features of NestJS that help in scaling applications?
Answer: Key features include modular design, lazy loading, microservices support, and GraphQL integration. These allow apps to grow without rewrites, a strategy often employed by Dev Centre House Ireland for long-term success.
Question: How does modular architecture aid in scalability?
Answer: Modular architecture allows developers to build features as independent units that can be added or scaled individually. This approach is especially useful for enterprise-grade solutions where different teams manage different parts of the application.
Question: Why is TypeScript an advantage in NestJS development?
Answer: TypeScript offers type safety and better tooling, making code more maintainable and less error-prone. Dev Centre House Ireland uses TypeScript with NestJS to deliver high-quality and reliable backend services.
Question: What role does Docker play in fast deployment with NestJS?
Answer: Docker helps containerise the NestJS application, ensuring consistent environments across development, staging, and production. It simplifies deployment pipelines and is a standard at Dev Centre House Ireland.
Question: How does Dev Centre House Ireland approach rapid launch and future scaling with NestJS?
Answer: The team focuses on clean architecture, CI/CD pipelines, and modular design to deploy fast and scale when required. Clients benefit from quicker time-to-market and cost-effective expansion.
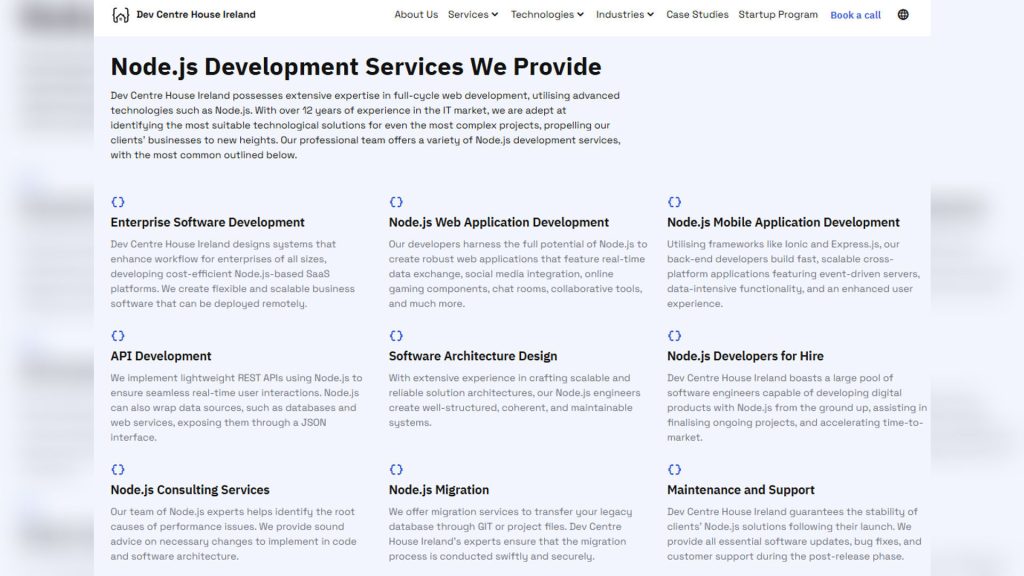
Want to explore how experts use Node.js in production environments? Check out DevCentreHouseIreland’s Node.js technology stack to learn more.